How To Install And Test A Protective Relay Panel?
Installing and testing a protective relay panel is essential for ensuring the safety of personnel and equipment in industrial facilities. A protective relay panel is a type of electrical switchgear that monitors electrical systems and provides protective functions such as circuit breaker tripping, overcurrent protection, and short-circuit protection. Here is a step-by-step guide to installing and testing a protective relay panel. If you want to know more about protective relay panels you may browse this site.
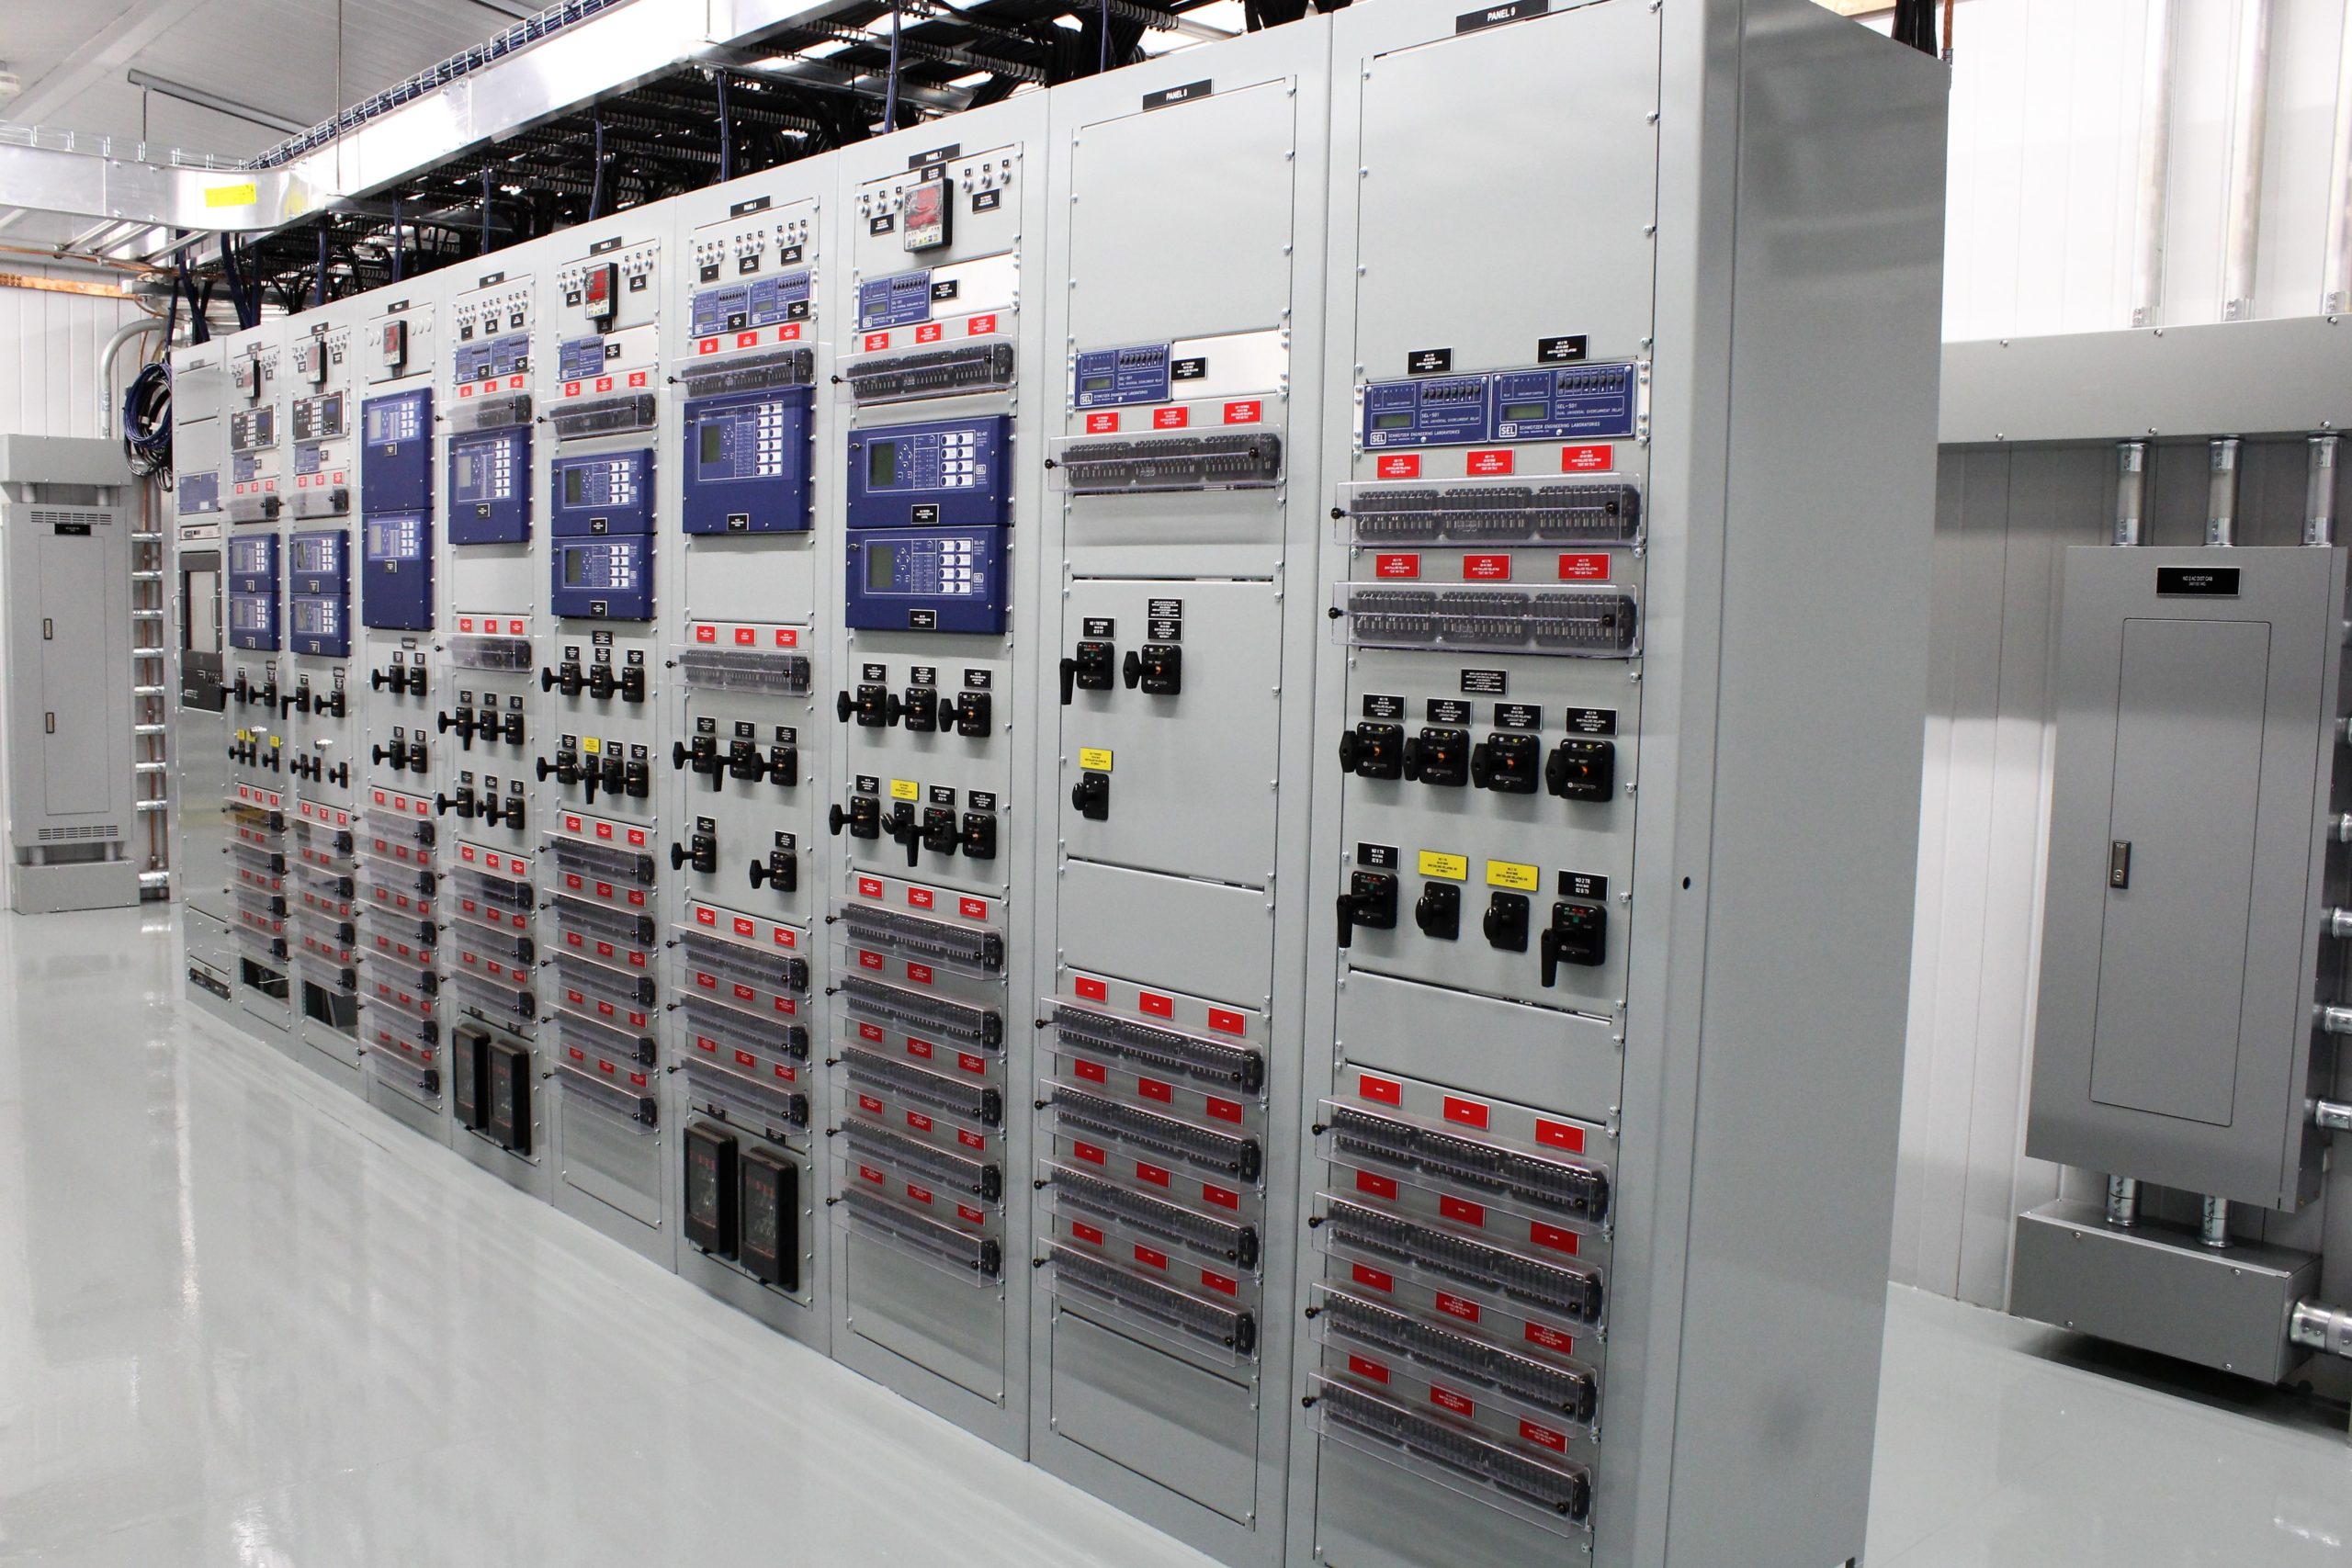
Image Source:Google
Prepare the Relay Panel: The first step is to prepare the relay panel for installation. This includes ensuring that the panel is the correct size, type, and rating for the application. The panel should also be inspected for any damage, such as dents or scratches, and any necessary repairs should be made.
Install the Relay Panel: The next step is to install the relay panel. This includes mounting the panel to the wall or other support structure, connecting the panel to the power supply, and connecting the panel to the control system. All wiring should be done according to local codes and standards.
Test the Relay Panel: Once the relay panel is installed, it must be tested to ensure that it is functioning correctly. This includes a visual inspection of all components, a functional test of all switches, and a continuity test of all wiring. Additionally, the relay panel should be tested under simulated load conditions to ensure that it is providing the necessary protection.
Inspect the Relay Panel: Finally, the relay panel should be inspected for any signs of damage or wear. This includes checking the wiring for any loose connections, checking the switches for any signs of corrosion, and checking the panel enclosure for any cracks or holes. Any damaged components should be replaced before the relay panel is put into service. Installing and testing a protective relay panel is a critical task that should not be taken lightly.